Wilder’s First Birthday Party & DIY Balloon Garland Tutorial
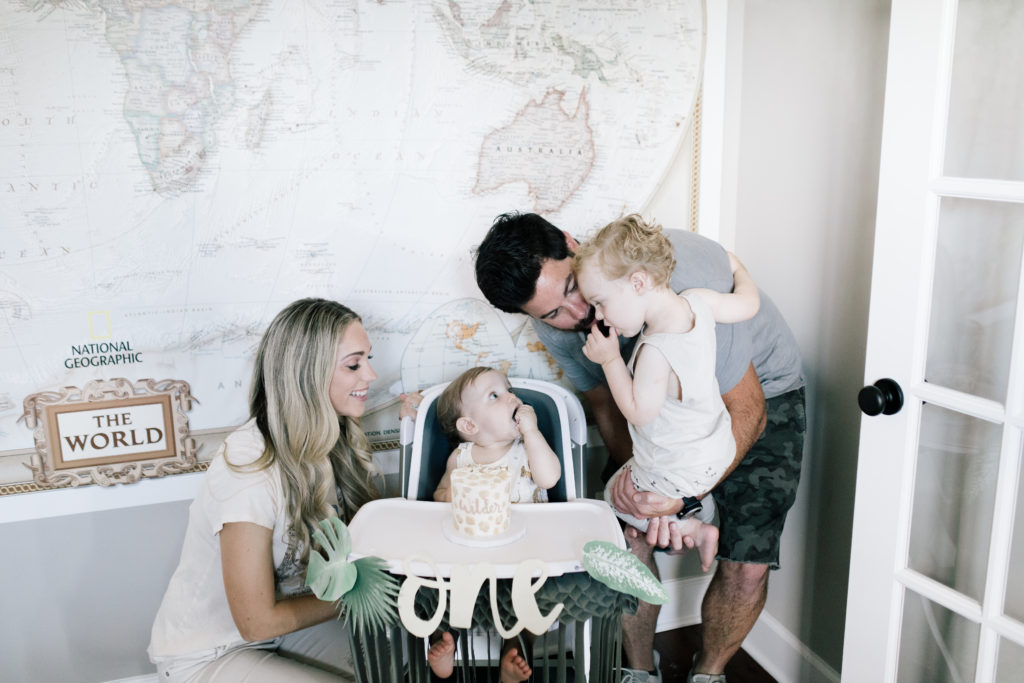
Time truly flies with young children. I can’t believe we just celebrated Wilder’s first birthday. It feels like yesterday I was sharing his birth story. (You can check that one out HERE. It still makes me cry every time.)
We have had a hectic summer full of travel, work, and everything in between. I honestly dropped the ball when it came to party preparation. Everything was thrown together last minute, and I utilized a lot of things we had along with some fun DIY projects, since I didn’t have time to order. It ended up turning out great! This goes to show that you do not need to spend a ton of money to entertain. I’ve become somewhat of an expert procrastinator since having these babies. Not sure if that’s a good or a bad thing, but I have some tricks up my sleeve in the party planning department to share.
HOW TO THROW A LAST MINUTE THEME PARTY
1. Pick a theme and a staple piece and run with it.
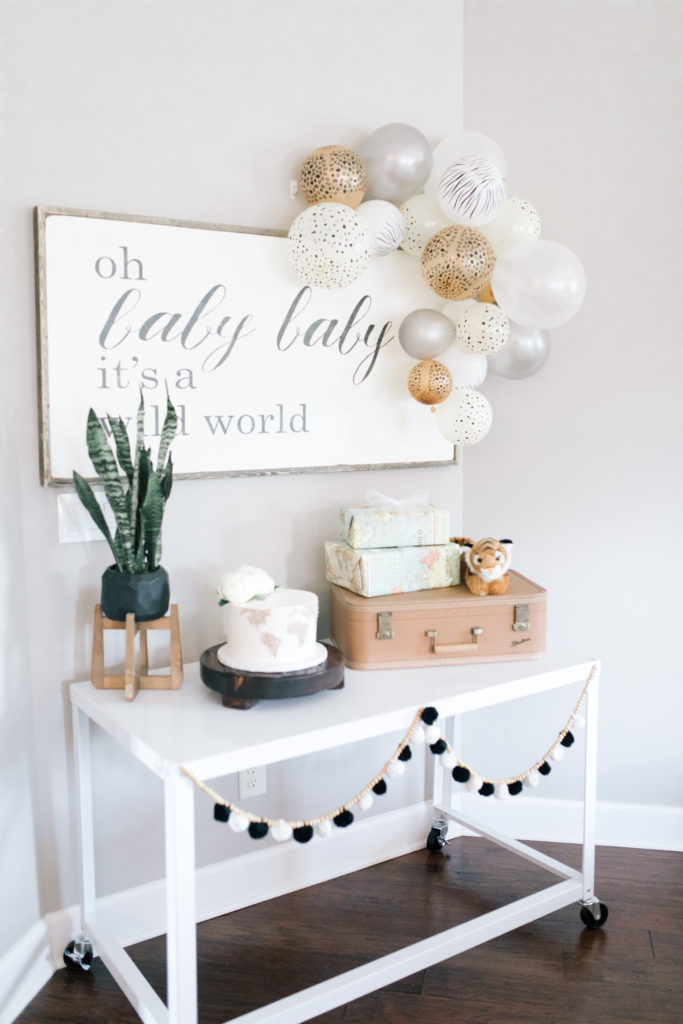
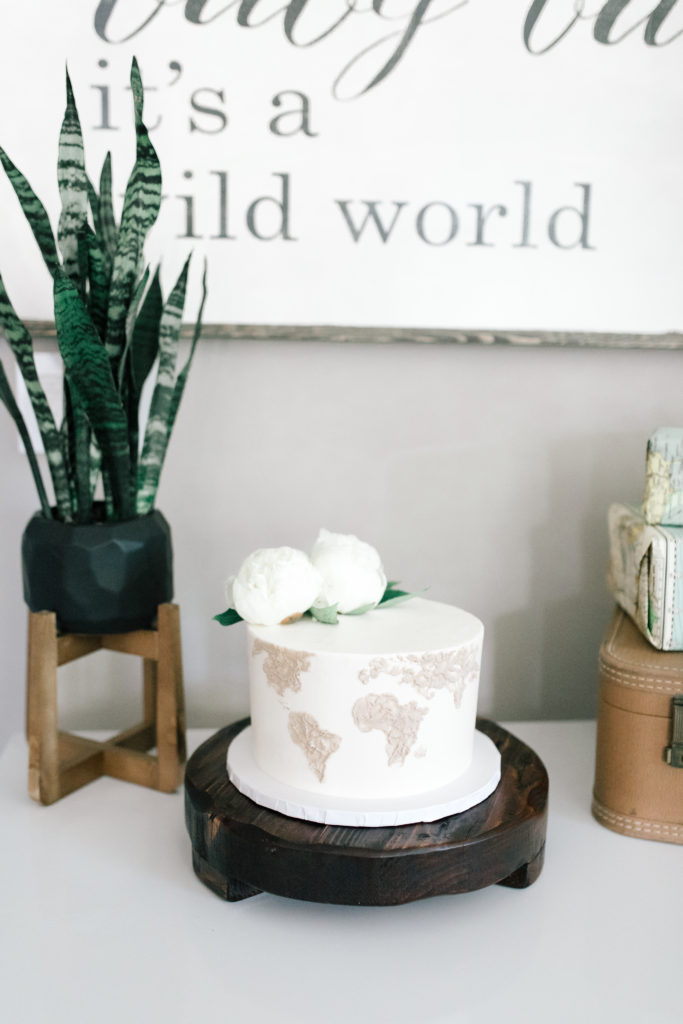
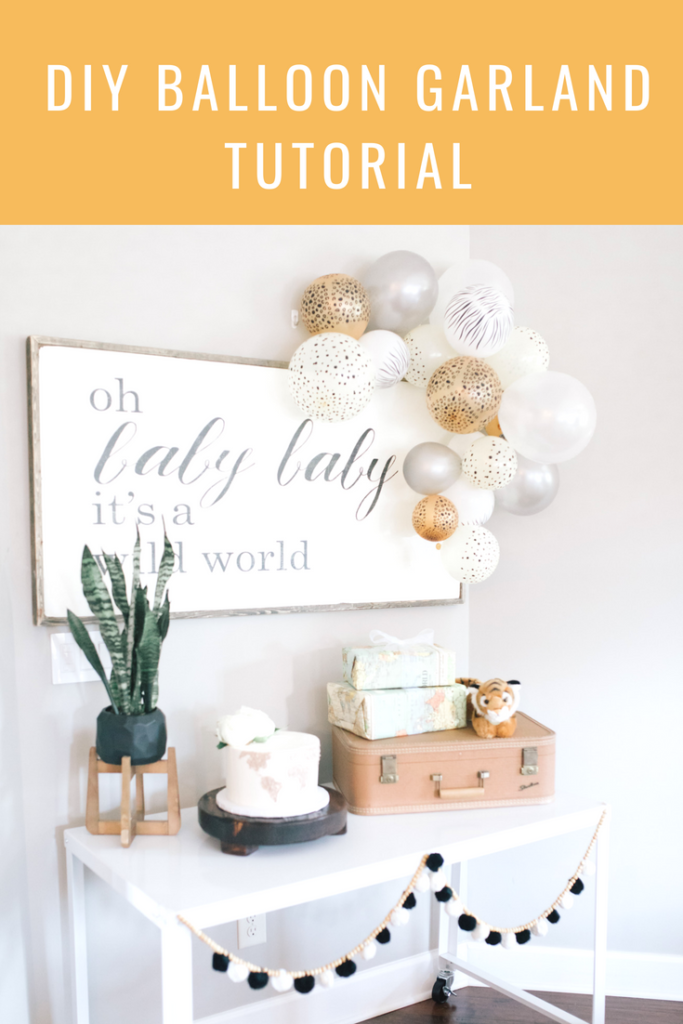
The “Oh baby, baby it’s a wild world” sign is hanging in Wilder’s nursery. It provided the perfect staple piece to center the theme around. We mixed in wild animals with the world/travel theme.
You can always mix themes! An easy way to keep things cohesive is to stick to a neutral color palette. I found a neutral leopard print as well as a vintage map as inspiration and went from there!
If you are working with vendors print out your inspiration colors or prints. It gives them a great visual to go off of, and makes it easier for them to see your vision.
2. Don’t be afraid to DIY.
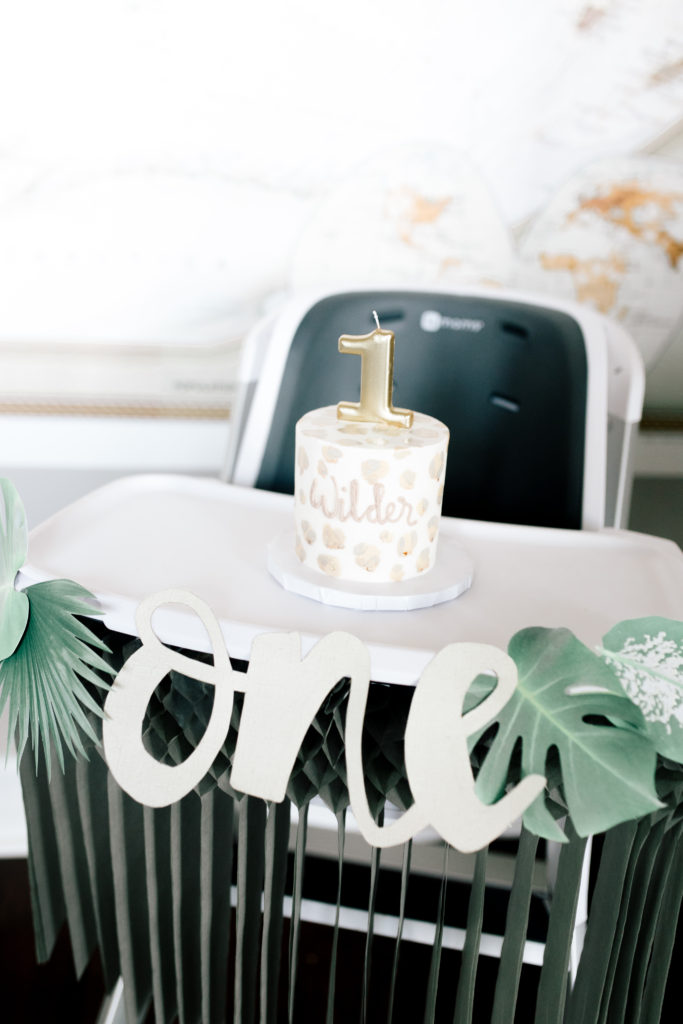
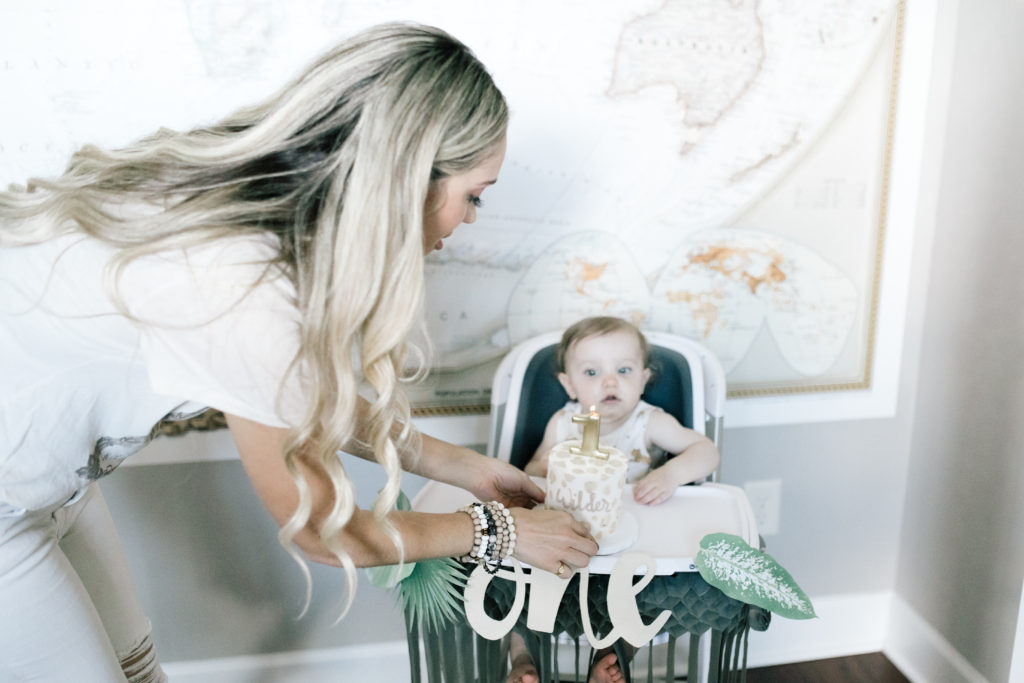
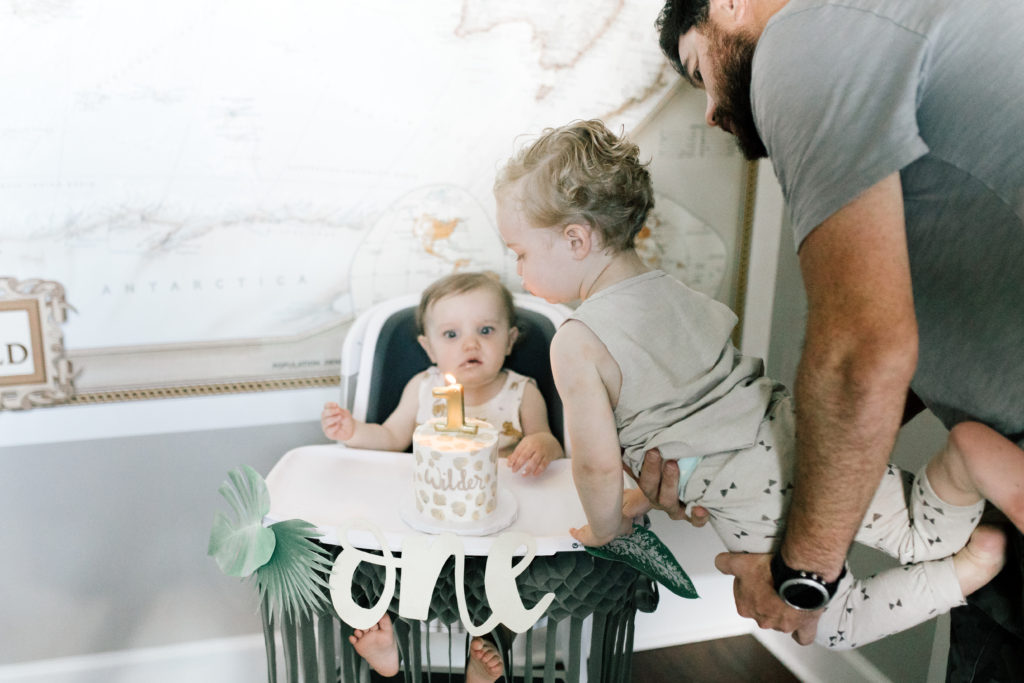
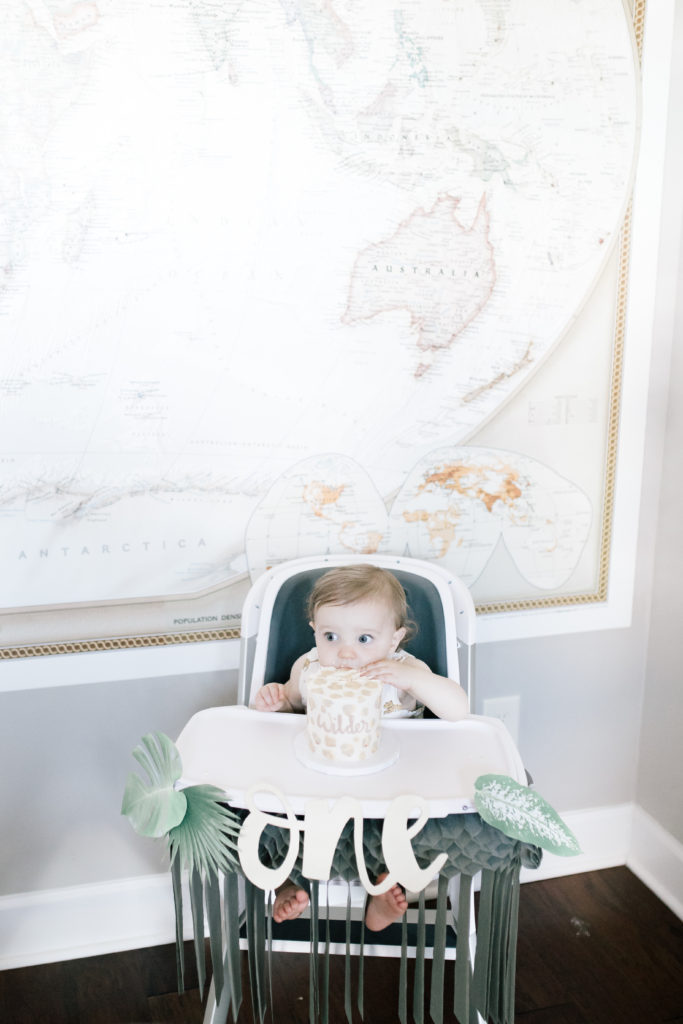
The high chair banner was a last minute DIY. The grey garland I found HERE. (It was in store at Target as well.) I used a thick textured card stock paper and free hand drew the one and simply cut it out. (Thanks to my sister for the help on that!) The palm leaves were print outs from the computer. Voila!
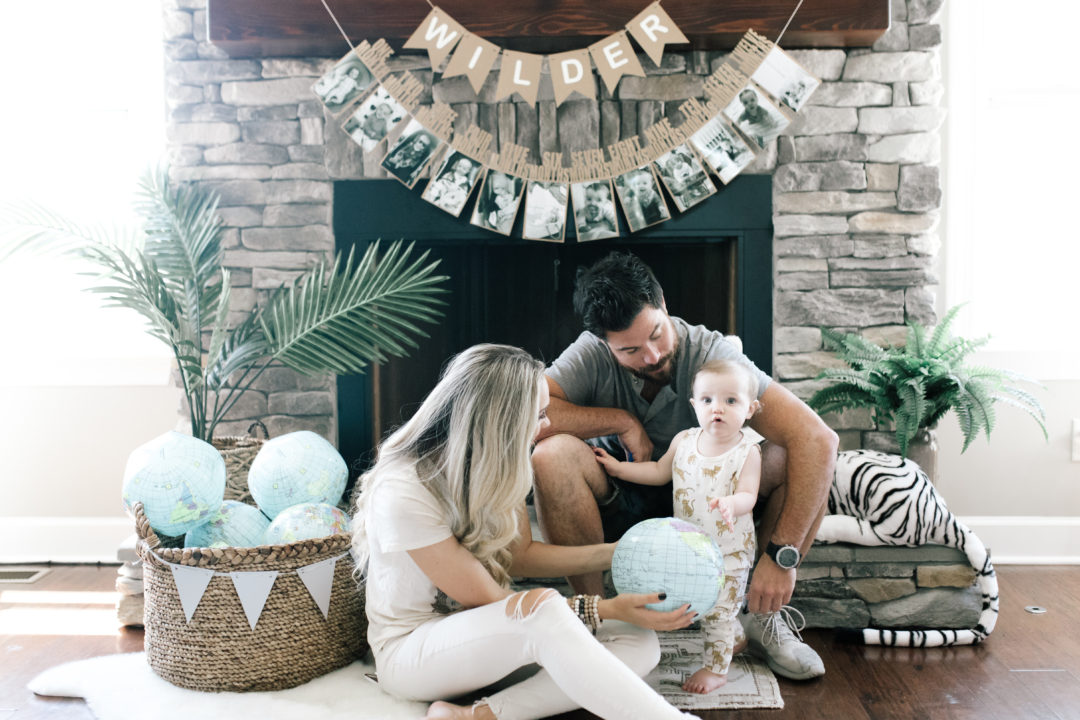
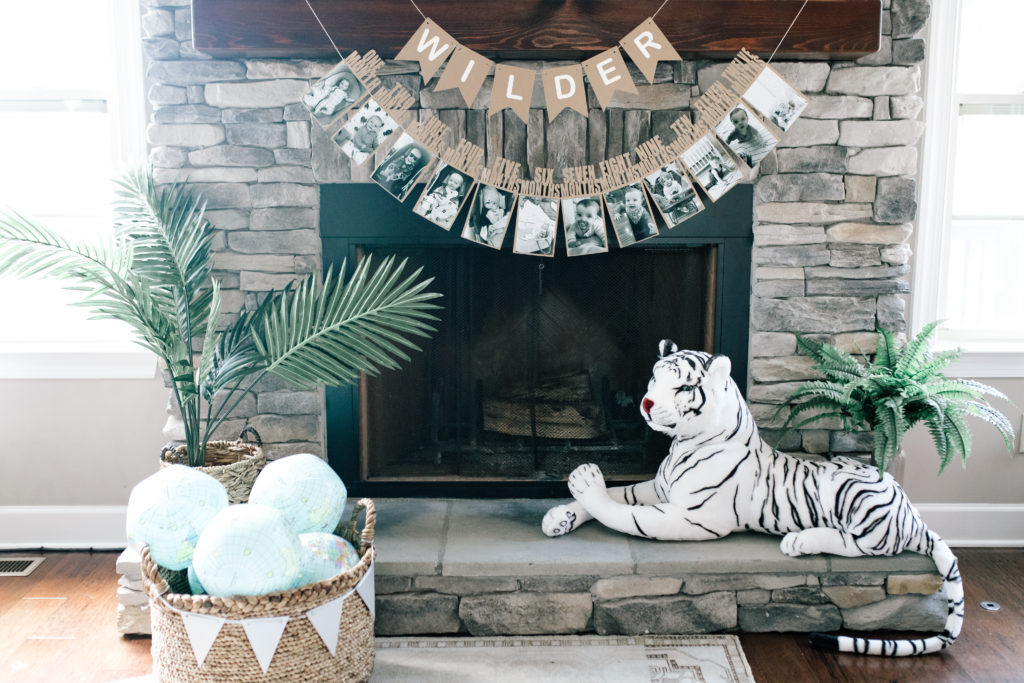
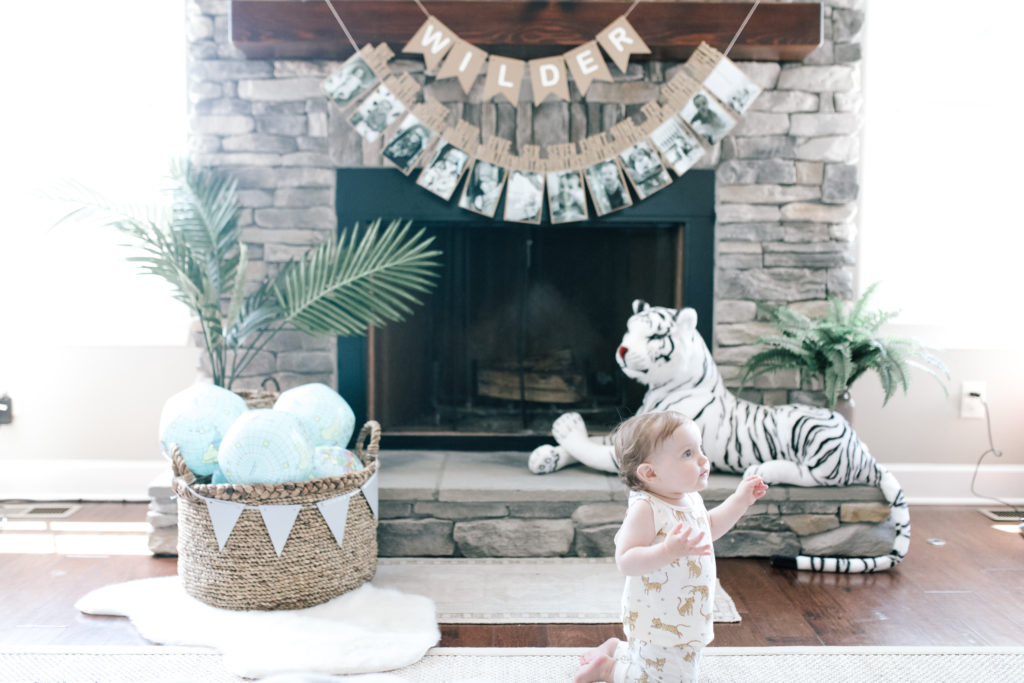
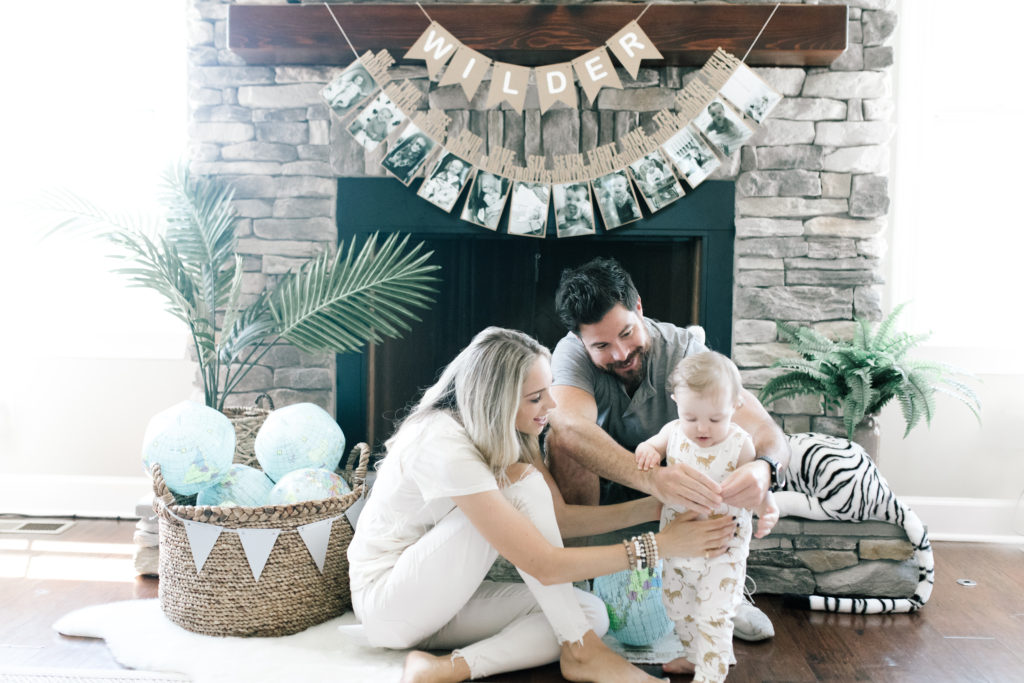
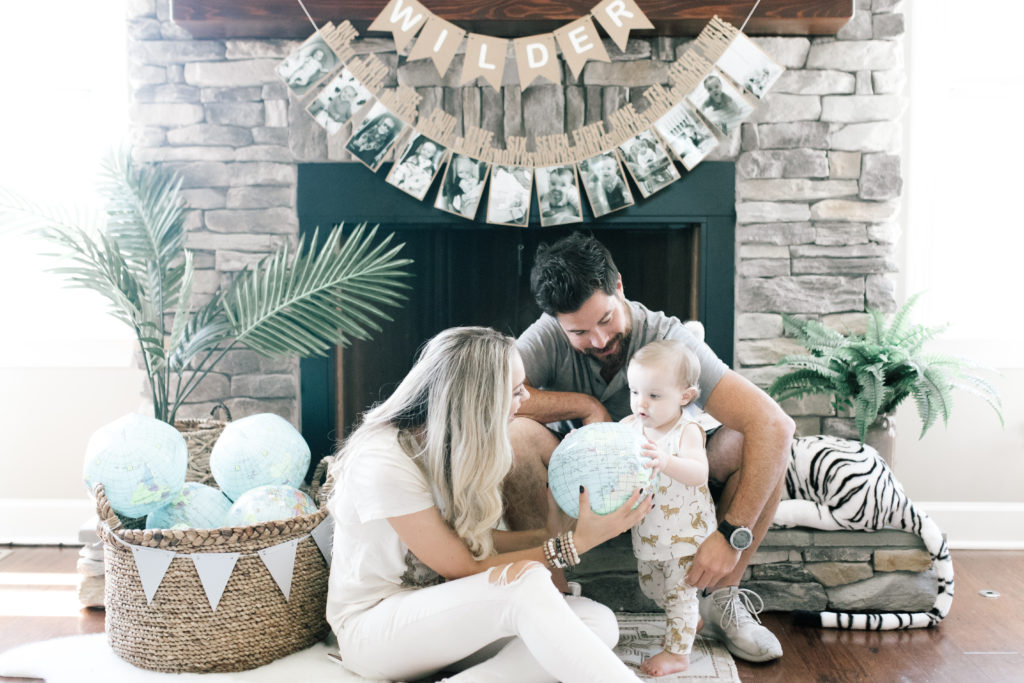
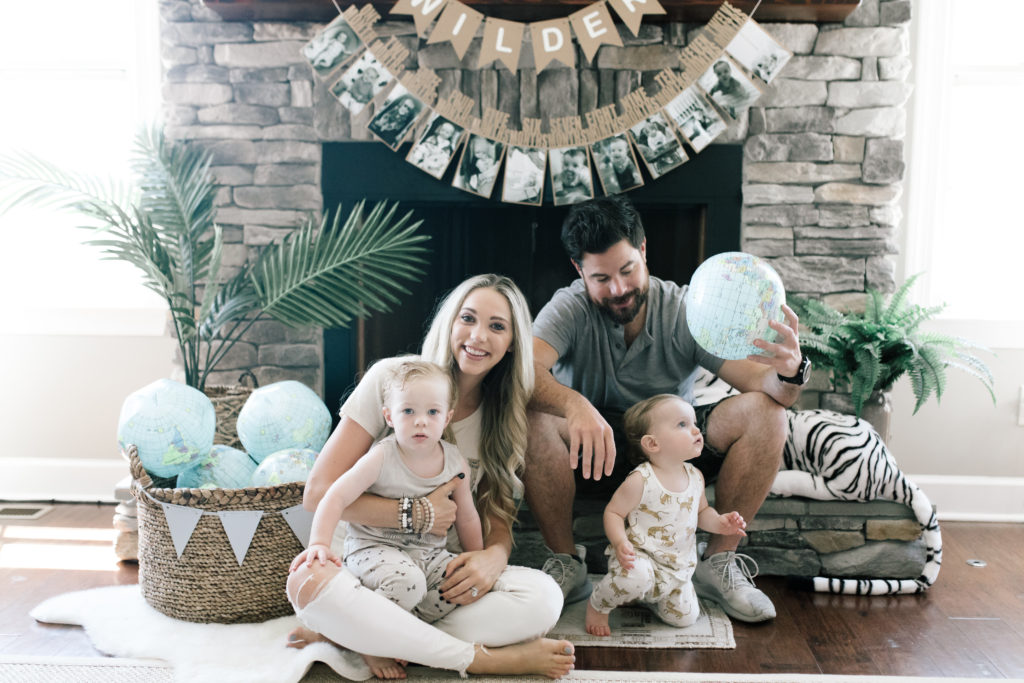
The banners above the fireplace were part DIY part and Etsy find. The month to month banner can be found HERE. (Bonus..I took them off the string and put them straight into his baby book.)
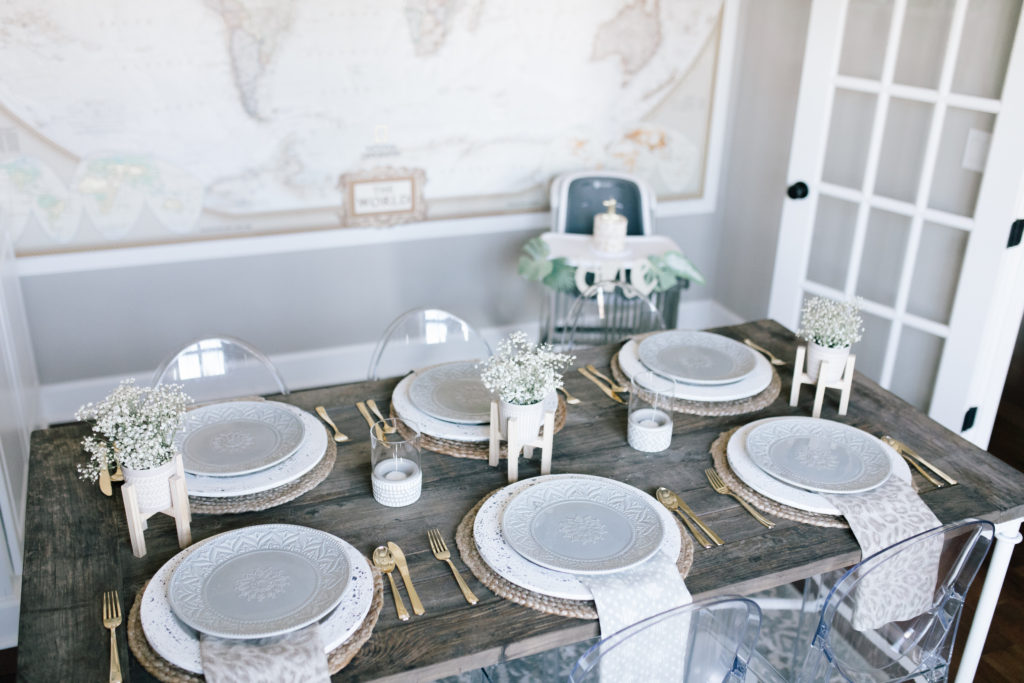
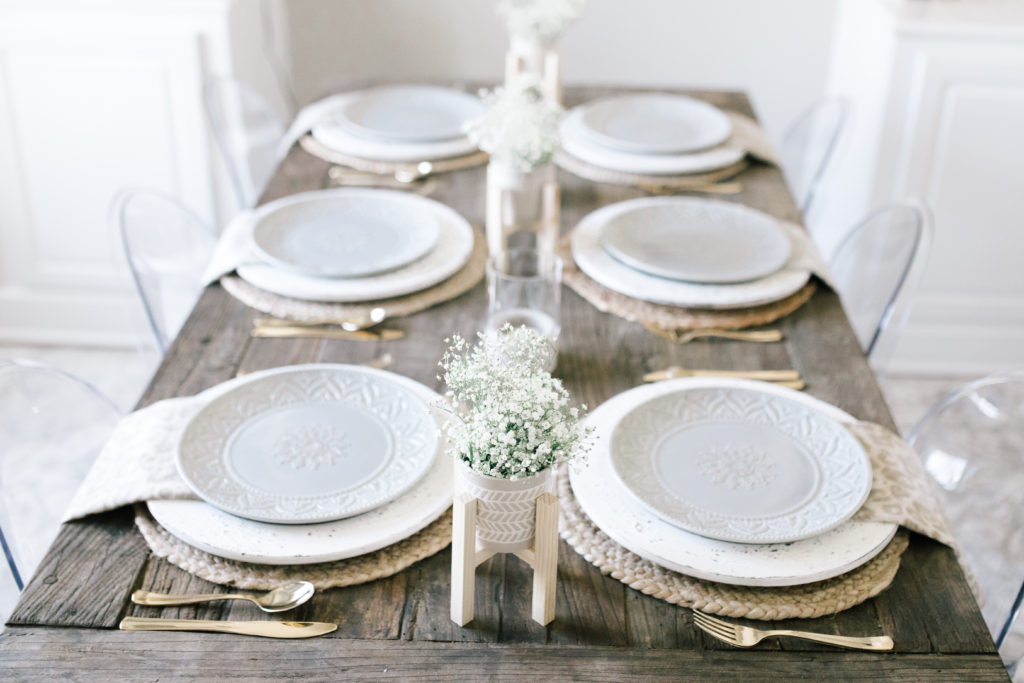
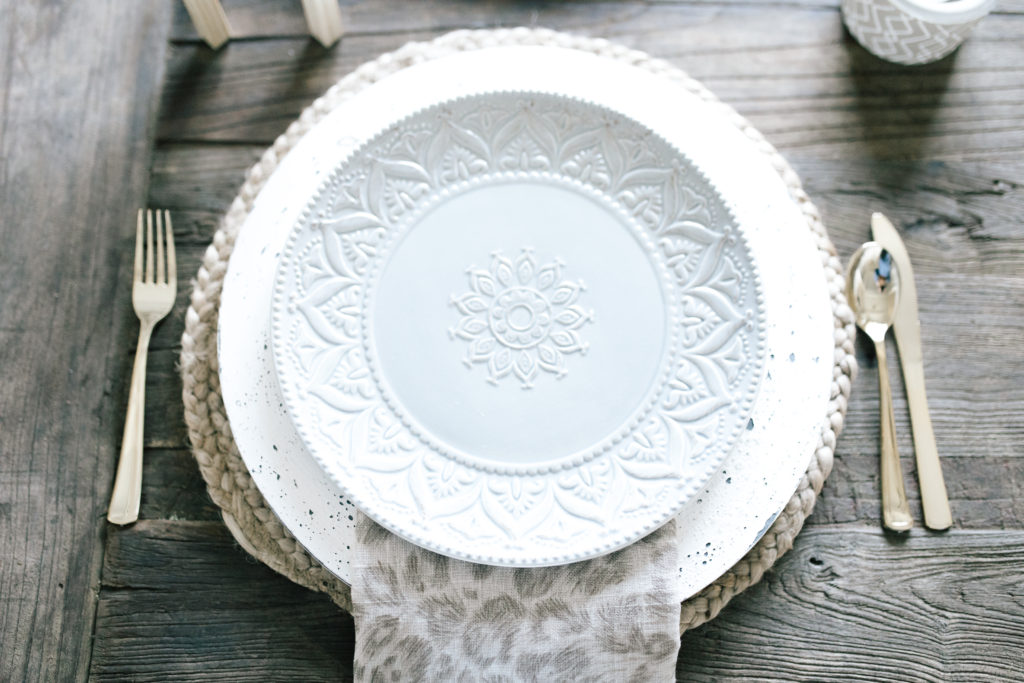
I worked with what I had when it came to the tablescape. Neutral plates and chargers are an awesome thing to have on hand. Then you can easily switch up center pieces and napkins to go with the theme. An easy way to add your theme into the table is with some fun printed napkins. Fabric remnants make perfect napkins and are very inexpensive. I mismatched some leopard with some tribal, but kept them all in the neutral color scheme.
3. Don’t be afraid to delegate.
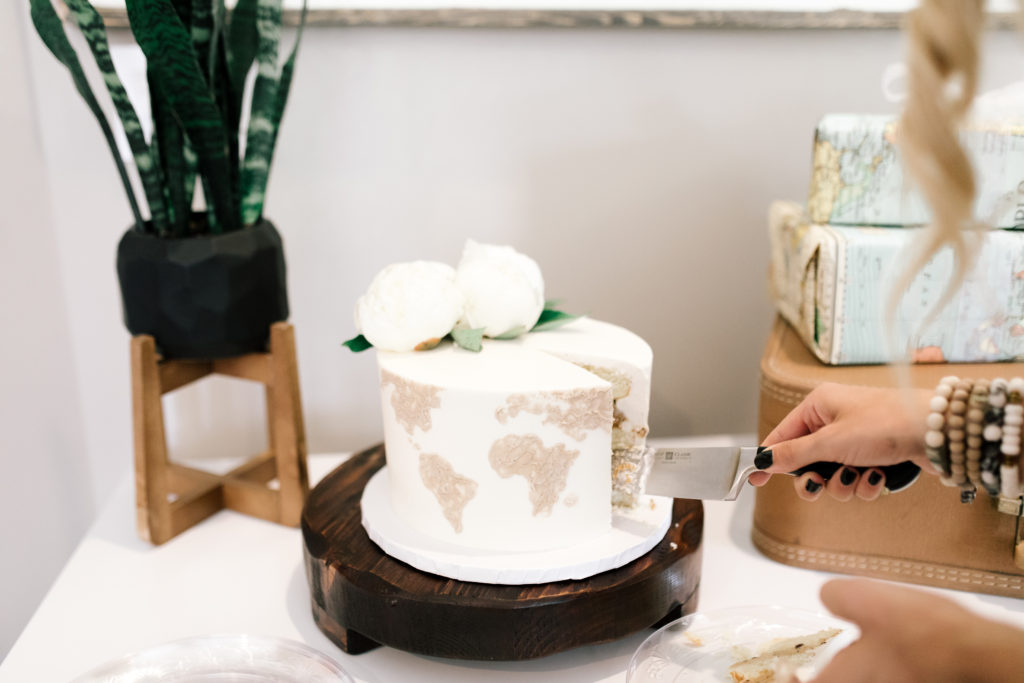
Baking a cake is not my speciality and when it comes to a first birthday party, that is the main event! I knew I would have to outsource this one.
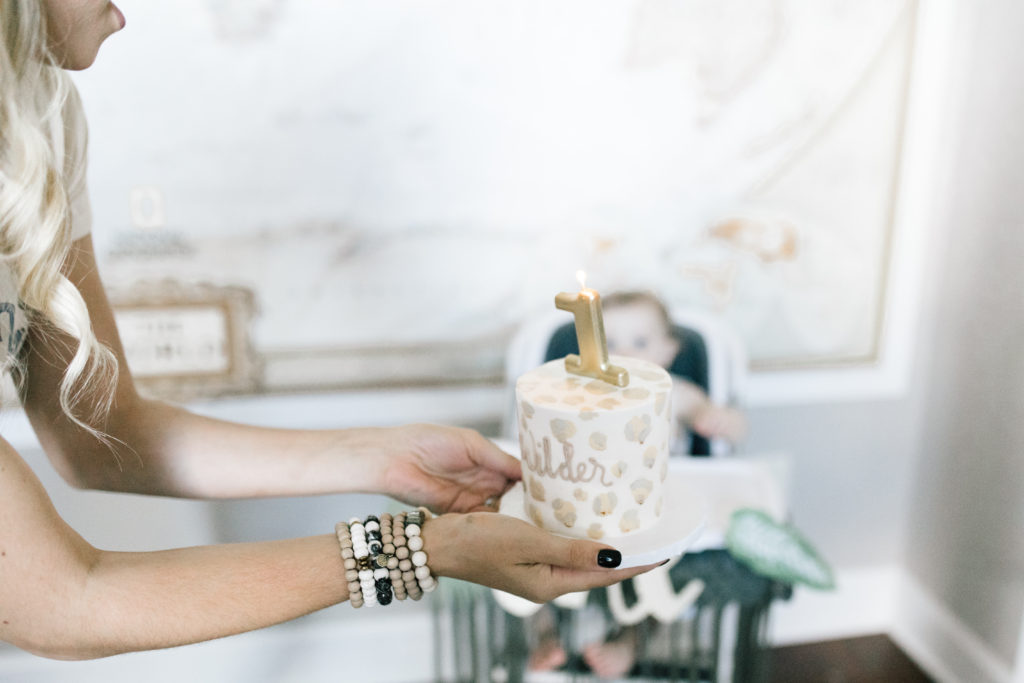
Nashville locals….. Copper Whisk Cakes is undeniably the BEST cake ever. Lizzie is so sweet and I told her my theme and let her run with it. We typically get her sea salt caramel, but went with a cookie dough flavor this time to keep it fun and whimsical.
4. Find things that can be used in multiple ways.
This giant tiger really made a statement in the decor, but was also one of Wilder’s birthday presents.
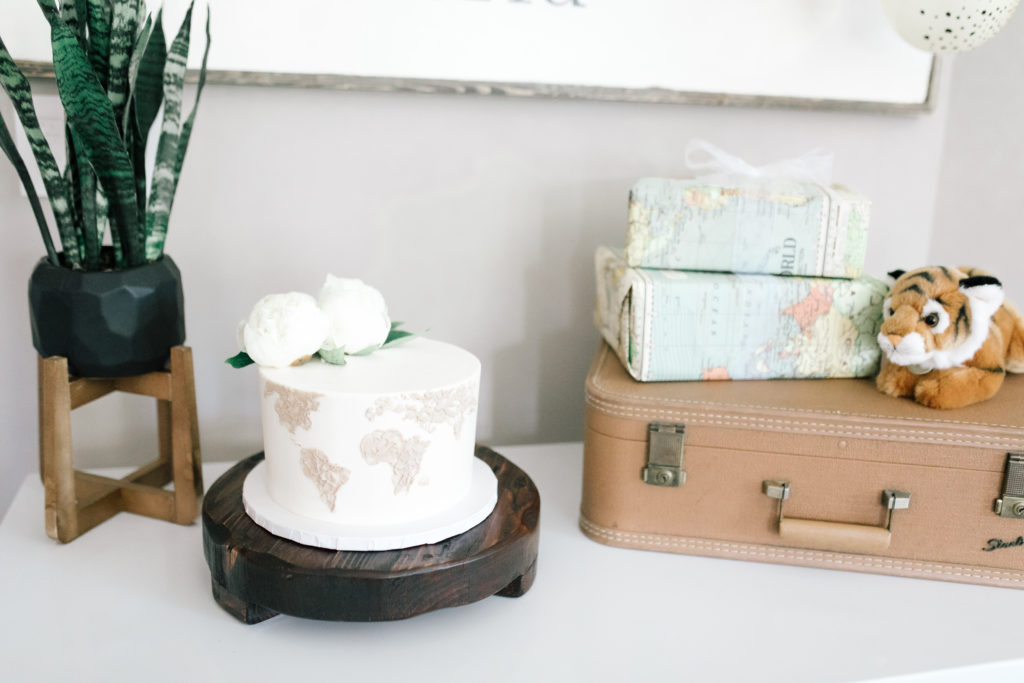
You can easily do this by wrapping presents in a paper that matches your theme and using them as decor.
I found vintage world map wrapping paper, and used that for his presents. They played double duty as decor on the cake table.
5. Have a fun activity for the kids to do.
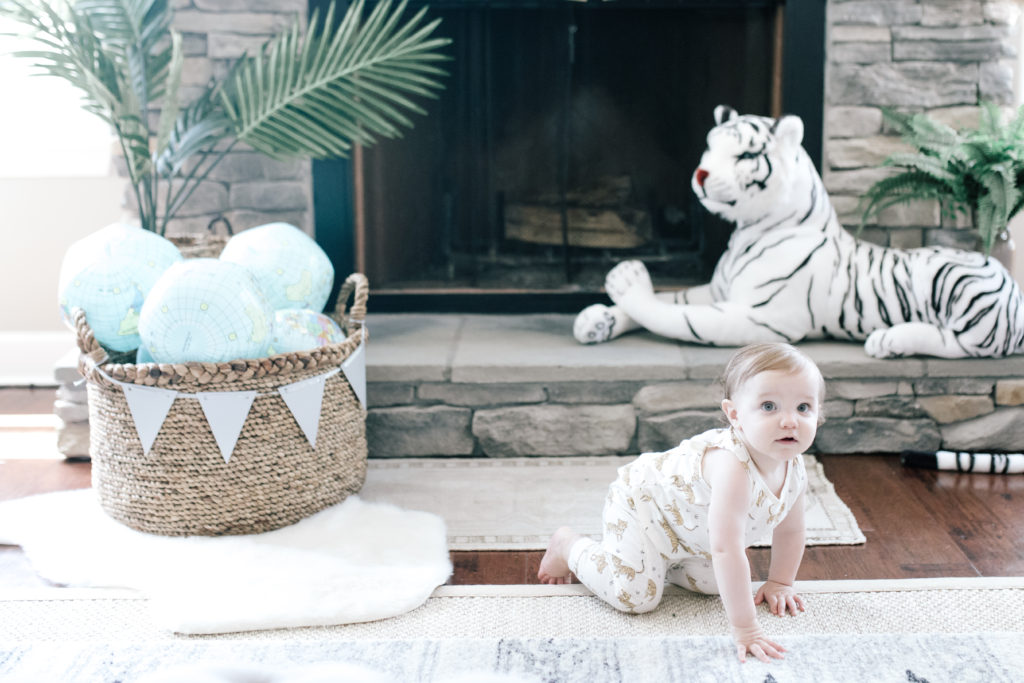
We had inflatable globes as party favors that made for a fun play toy as well. We set up a “water park” outside that kept them entertained for hours!
What is a first birthday party without balloons?! For Georgie’s birthday I had a local company do a huge balloon install in our dining room. It was such a hit, but was quite pricey and took calling a few weeks ahead to have it made. I was afraid that a DIY version would just not turn out, but decided to give it a go. It was SO SIMPLE, inexpensive, quick and made a huge impact on the overall decor.
DIY BALLOON GARLAND TUTORIAL
You will Need:
* A sewing needle
* Fishing Line
* Multiple color balloons
* Superglue or a low heat glue gun
* Command Strips
1. Blow up the balloons to various sizes. (You can use a balloon pump like this one HERE to make that task quicker and easier. Having a few printed balloons along with a few colors is great!
I used these safari themed ones here.
2. Take a sewing needle and thread through your fishing line.
3. Lay the balloons out on the floor or table in the general area you’d like them to be. There does not need to be a rhyme or reason to this.
4. Thread the fishing line through the balloon right underneath the knot. (Be careful not to get the needle to close to the top of the balloon or it will pop.) Keep them as tight on the string as possible. They can go in various directions.
5. Take superglue or a low heat glue gun and put any balloons together that need to be. (Do not use a typical glue gun or they will pop.) Not all of the balloons will need to be superglued together. Hold them firmly in place until the glue as dried.
6. Place the command strips where you’d like to hang the garland. (Or skip this step and use the garland as a table runner!) Wrap the fishing line twice around each command strip.
We just love our sweet little Wilder so much. He is a loving little guy that laughs at his big brother, loves to say “dada” and gives out hugs generously. It was great to celebrate him at his first birthday party this past weekend, and shower him with love.
Happy party planning!

